
Reviewed · CONCH TRAIN & TROLLEY TOURS
Key West: Old Town Trolley 13-Stop Hop-On Hop-Off Tour
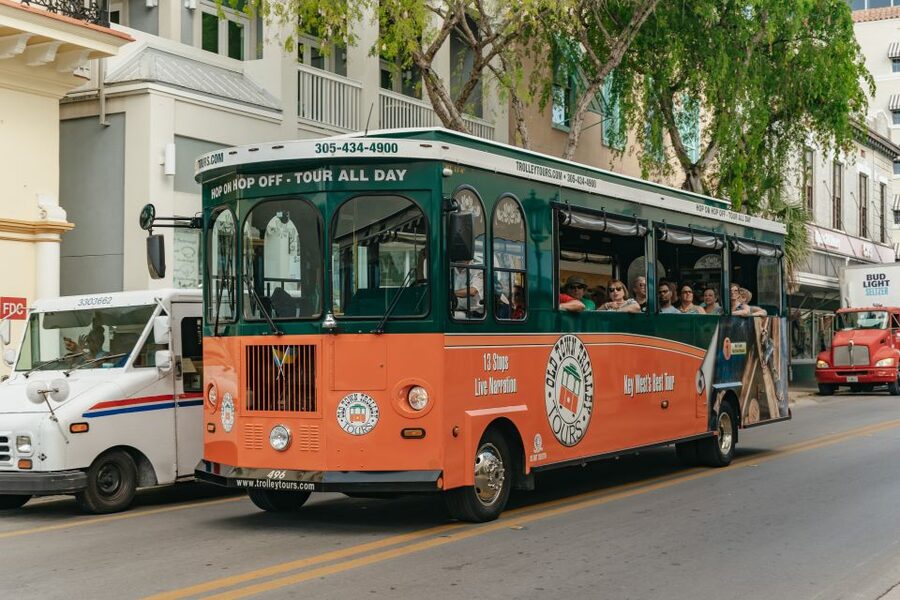
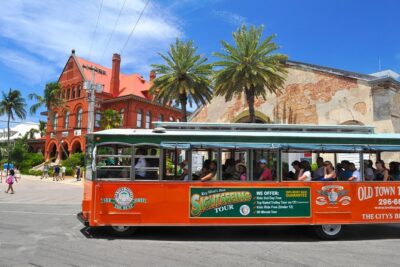
Duval turns into a moving map in Key West. This 13-stop Old Town Trolley loop helps you see the island fast, with live narration and over 100 points of interest along the way.
I especially like that it’s truly flexible: you can hop off, wander, then ride back later on the same all-day ticket. I also like the human touch from guides such as Louie, Skipper, and Pony, who keep the stories moving with humor and practical tips.
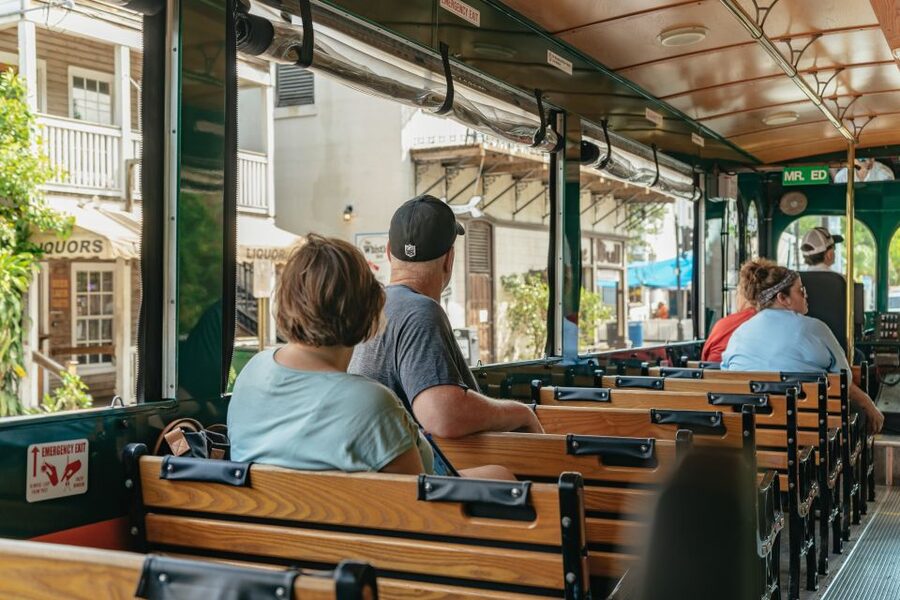
The main drawback is simple: seating is first come, first served, and it can feel tight if you have long legs—so it helps to board early when you can.
In This Review
- Key things that make this trolley tour work well in Key West
- Key West without a car: why the 13-stop route makes sense
- Using your day well: hop-on hop-off tactics that save time
- The free Sails to Rails Museum stop near Stop 2
- The full route, stop by stop: what each stop is best for
- Start: Key West cruise port
- Stop 2: 400 Wall St, Mallory Square
- Stop 1a: Whitehead/Caroline St, Presidential Gates
- Stop 3: 280 Margaret St, Mac’s Sea Garden
- Stop 4: Corner of Greene/Simonton St, Simonton Row
- Stop 5: 430 Duval St, La Concha Hotel
- Stop 6: Whitehead/Petronia, Bahama Village
- Stop 7: 2400 N. Roosevelt Blvd, Fairfield Inn & Suites by Marriott Key West
- Stop 8: 3840 N. Roosevelt Blvd, Roosevelt Station
- Stop 9: 3755 S. Roosevelt Blvd, Hampton Inn
- Stop 10: 3501 S. Roosevelt Blvd, East Martello
- Stop 11: 1500 Reynolds St, Casa Marina
- Stop 12: South/Simonton St, Southernmost Trolley Stop
- Stop 13: Corner of Truman/Duval St, Market Place
- Stop 14: Corner of Angela/Duval St, Angela Street Depot
- Guides, narration, and why the ride feels more like a story walk
- Price and value: does $55 actually make sense here?
- Who should book this trolley and who might not
- Should you book the Key West Old Town Trolley 13-stop hop-on hop-off tour?
- FAQ
- Where do I start this trolley tour?
- How long is the ticket valid?
- How often do trolleys depart?
- Is the Sails to Rails Museum included?
- Where is the Sails to Rails Museum in relation to the trolley stops?
- Can I bring pets or large bags?
- Are the guides provided in English?
- Where do I get the map and schedule for the stops?
Key things that make this trolley tour work well in Key West
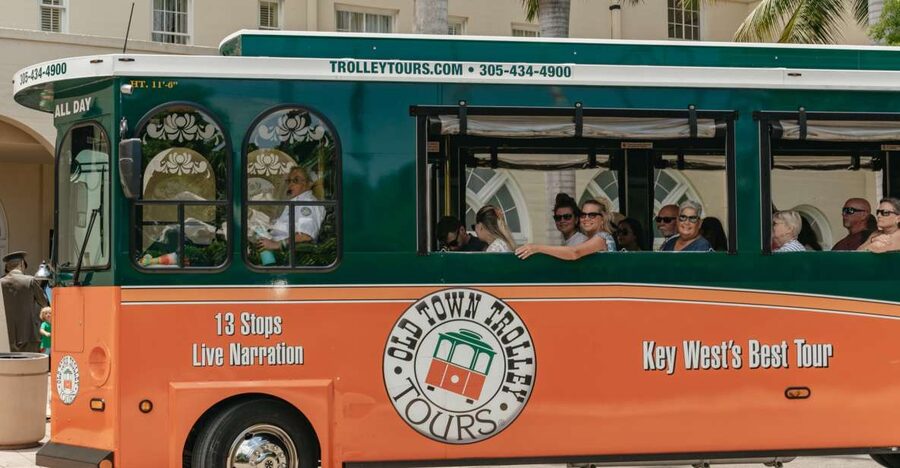
- All-day freedom: hop on and off at 13 stops without racing a fixed schedule
- Free Sails to Rails Museum: a strong history stop near Stop 2 that’s included in your ticket
- Live English narration: your guide is part storyteller, part local problem-solver
- A route that spreads across the island: downtown and outlying stops both show up on the same ride
- Frequent departures: trolleys leave about every 30 minutes at boarding locations
Key West without a car: why the 13-stop route makes sense
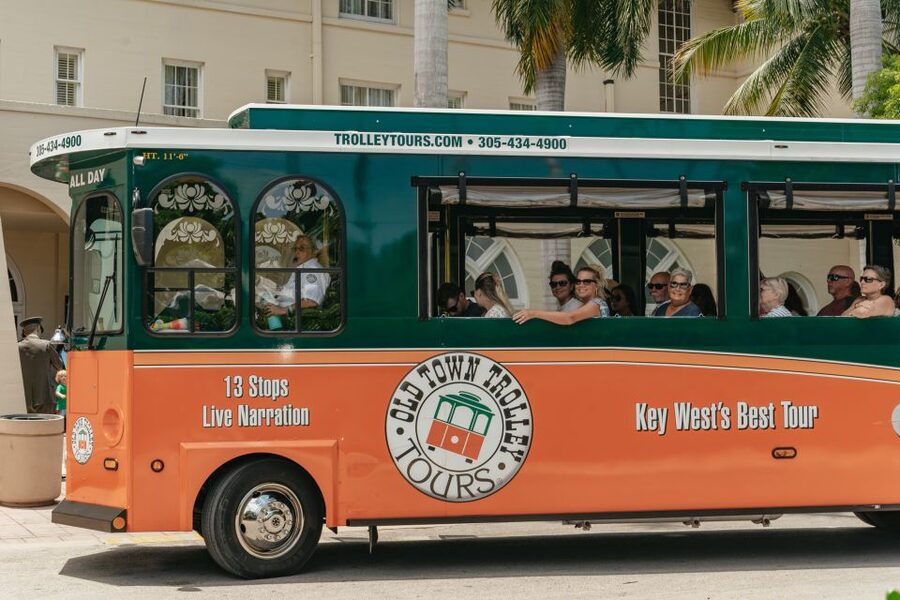
Key West is the kind of place where driving can eat your day. Traffic and parking are the sort of headaches that steal time from exactly what you came for: walking, stopping for a snack, and wandering back streets. This hop-on hop-off trolley is built for that reality.
With a $55 ticket for one day, you’re basically buying an organized way to cover a lot of ground while staying in “vacation mode.” You don’t have to plot parking spots. You don’t have to decide which neighborhood is best before you know the vibe. You just ride the loop, get off when something catches your eye, and return when you’re ready.
Another underrated benefit: you’re not locked into one guide’s viewpoint. If you hop onto a later trolley and catch a different conductor, you may hear a different style of storytelling (and different jokes), while still using the same stop grid.
Ride the whole island the easy way again


Using your day well: hop-on hop-off tactics that save time
This isn’t a one-and-done bus tour. The value is in how you pace it. Your ticket is valid for the entire day on the date of use, so I’d treat it like a repeating “city circuit.”
Here’s a way to make it feel efficient without turning Key West into a checklist:
- Do one full loop early to orient yourself and spot which stops you want to revisit.
- Pick 1 to 3 stop areas for deeper exploring (instead of hopping off at every location).
- Ride back during the hottest stretch or when the streets get crowded, then continue on foot once things cool down.
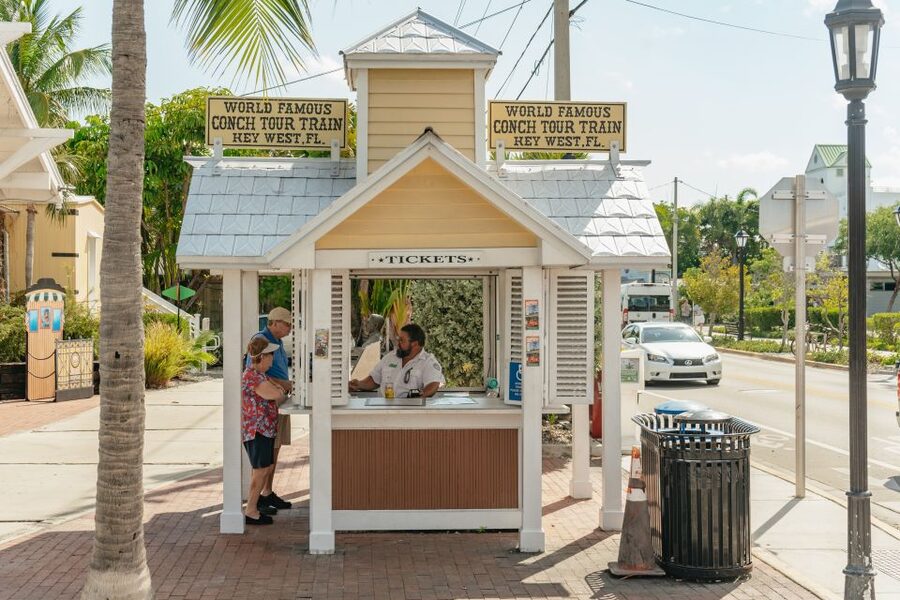
Boarding is flexible too. You can depart from any boarding location (including the Key West cruise port area if you’re starting there). Trolleys depart from the boarding locations about every 30 minutes, and conductors are present to help you use the stops smoothly.
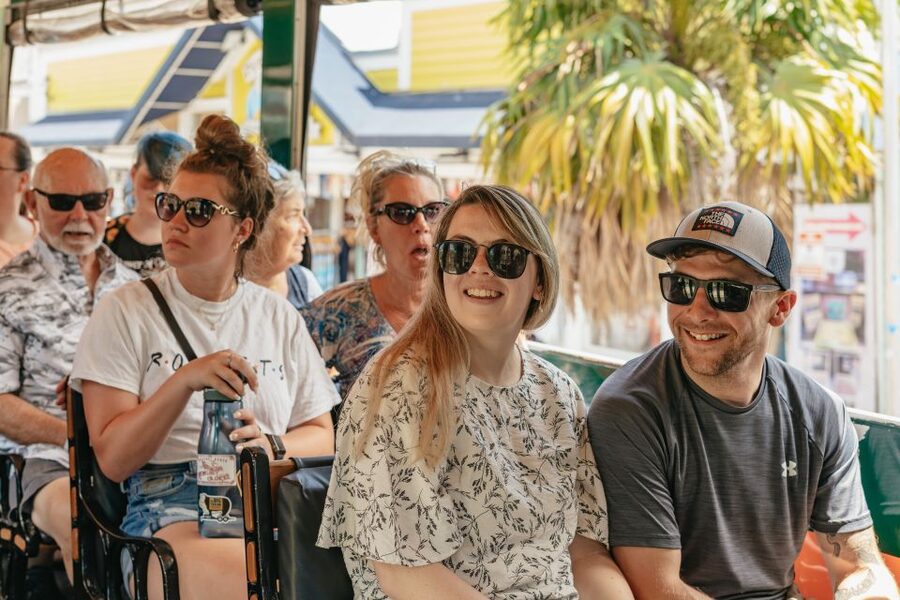
Comfort-wise, the ride can feel open-air. In warm weather you’ll often notice a breeze coming through, and multiple guides keep the commentary engaging instead of turning the ride into a lecture you try to survive.
The free Sails to Rails Museum stop near Stop 2
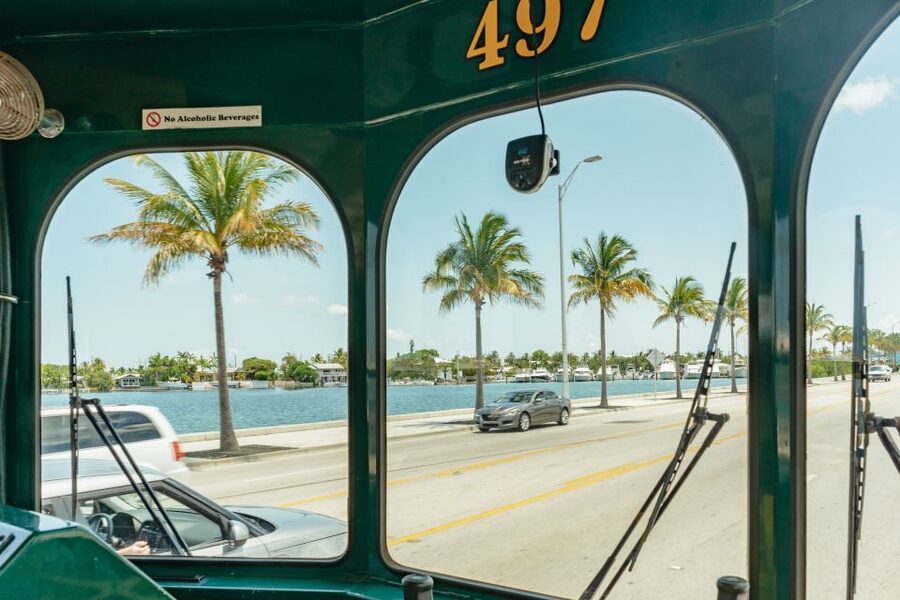
If you want one “included” reason to commit to the trolley, it’s the complimentary admission to the Sails to Rails Museum. It’s described as a top attraction in Key West and it’s located near Stop 2, so it slots naturally into your early planning.
This museum inclusion matters because it turns the trolley from just transportation into a day-with-a-plan. Without it, you’d still get plenty out of the route and narration—but the free ticket gives you a built-in anchor. You can get off near Stop 2, spend time on an indoor history stop, then rejoin the trolley when you want to shift back to sunlight and strolling.
If you like learning how places evolved (and how the Keys relate to that story), this stop helps you connect the dots between buildings you see outside and the background you’re hearing on the trolley.
The full route, stop by stop: what each stop is best for
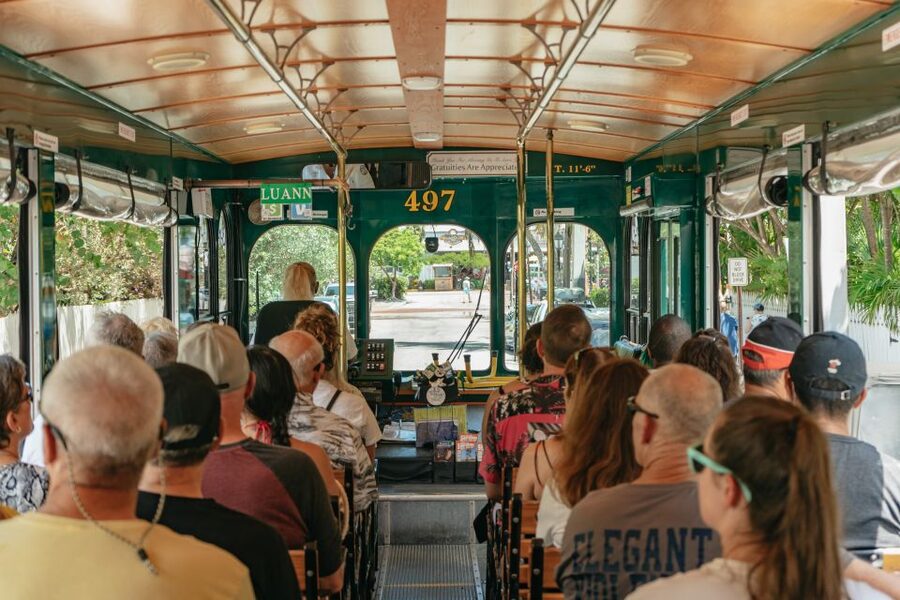
Below is how I’d use the 13-stop sweep, based on what each named location is good for in a practical sightseeing day. (Some stops are ideal for quick photos and orientation; others are better for a longer walk.)
Start: Key West cruise port
If you’re in port for a day, starting here is a big win. It keeps the “how do we get into town” problem from becoming a detour. You can hop on, get oriented fast, and still come back to the cruise port area when your timing demands it.






Stop 2: 400 Wall St, Mallory Square
This is a central stop and a smart first-or-second get-off point. I’d use it to gauge the waterfront area and to set your walking routes for later in the day.
Also, this is where you’ll be positioned to connect with the free Sails to Rails Museum nearby. If you want the museum, plan your timing so you don’t miss it just because you got distracted by the streets.
Possible drawback: since this is central, it can be one of the busier areas for boarding. Try to hop on promptly at your chosen time rather than waiting until the crowd swells.
Stop 1a: Whitehead/Caroline St, Presidential Gates
This is a quick “landmark check” stop. Even if you only step off for a few minutes, it helps you understand where key ceremonial streets sit relative to the rest of downtown.
Good strategy: if you’re doing the loop early, hop off briefly here so you later know exactly where you are when you’re walking near the core streets.
Stop 3: 280 Margaret St, Mac’s Sea Garden
Use this stop as a walk-and-look break. It’s a named local address, so it gives you a clear off-ramp into that part of town.
Why it’s useful: hop-on tours can blur together if you only ride and never step out. Stops like this give you a reason to leave the trolley, breathe, and reset your attention before continuing.
Possible drawback: if you’re rushing, it can be easy to hop off, take a quick look, then board again without giving the area enough time to sink in.
Stop 4: Corner of Greene/Simonton St, Simonton Row
This is one of the “stay a while” areas if your goal is to explore on foot. A named row location is helpful because it signals a street cluster—good for wandering without needing a map app to find your next move.
I’d use Simonton Row as a place to slow down: take a short loop on foot, grab a drink or snack nearby, then return when you’re ready.
Possible drawback: if you get off at multiple nearby stops in a row, you may end up repeating the same walking zone more than you planned.
Stop 5: 430 Duval St, La Concha Hotel
Duval Street addresses are your cue that you’re in the most active sightseeing corridor. This stop is helpful if you want easy access to the Duval area without committing to a long walk from the outer edges of town.
Practical move: if it’s raining or hot, the trolley gives you a quick way back to shaded or breezier riding zones—then you can step off again when the weather turns.
Possible drawback: like many central areas, you may find a bigger crowd waiting to board depending on the hour.
Stop 6: Whitehead/Petronia, Bahama Village
This stop is your marker for a different slice of Key West. When a hop-on tour spreads you beyond just the most famous streets, it gives you a better overall picture of the island.
I’d use Bahama Village to avoid spending the whole day in one downtown pocket. Even a short on-foot wander here can change the feel of your day.
Possible drawback: if you’re limited on time, it’s easy to hop off and then feel like you need to speed through. Give this stop a real block of time if you care about seeing more than the postcard basics.
Stop 7: 2400 N. Roosevelt Blvd, Fairfield Inn & Suites by Marriott Key West
Hotel-area stops can sound less exciting, but they matter. This one helps you connect lodging zones to the core sights without fighting for parking or walking long distances back and forth.
Use it if you’re based north of the most central streets or if you want to break up the day with a quick ride segment between downtown and the edges.
Possible drawback: if you’re expecting “must-see sights right at the stop,” you might find yourself walking to find them since the stop is anchored by a hotel location.
Stop 8: 3840 N. Roosevelt Blvd, Roosevelt Station
This stop continues the theme of outlying connections. If your goal is to see more of the island’s spread—rather than only downtown—this kind of stop keeps the route from feeling too one-note.
I’d use Roosevelt Station for a longer off-trolley pause only if you already know what you want to do in that area. Otherwise, it’s best as a ride-to-get-orientation stop.
Stop 9: 3755 S. Roosevelt Blvd, Hampton Inn
Another outlying lodging-area stop that’s useful for practical touring. If you’re staying on this side of town, it can save you a lot of time and steps.
I like the way these north and south Roosevelt Boulevard stops make the whole day feel less like you’re crisscrossing Key West on foot. You can decide what to walk and what to ride.
Possible drawback: the further you go from the densest sightseeing streets, the more your “what to do next” depends on your own plans.
Stop 10: 3501 S. Roosevelt Blvd, East Martello
This is where the stop name points toward a major “place” stop. Your odds of wanting more than a quick photo are higher here, because the name signals a specific destination area.
In a practical plan, I’d save this for mid-to-late day: after you’ve gotten your orientation and decided what kind of sightseeing you want next.
Possible drawback: if your schedule is tight, you may only get one meaningful stop on the south side. Pick one and commit.
Stop 11: 1500 Reynolds St, Casa Marina
Casa Marina is a named destination tied to a specific address. This is a stop that can work well for scenery breaks or a slower wander if you want to change environments mid-day.
Also, it’s a good “reset” stop. If downtown is getting crowded, stepping out here and returning later can make the day feel less stressful.
Possible drawback: if you’re mainly chasing one neighborhood, you might feel this is “extra riding” before you get to the part you care about most.
Stop 12: South/Simonton St, Southernmost Trolley Stop
This is a clear southern endpoint marker. Even if you don’t plan a long walk from the stop, it’s a useful point to understand where the trolley loop turns around and how the map lays out.
I’d use this stop if you want to place your day on the island’s “southern” side before heading back.
Possible drawback: if the weather is rough, standing/waiting at a busy endpoint can feel less pleasant than downtown stops.
Stop 13: Corner of Truman/Duval St, Market Place
This stop is another named downtown-adjacent area. When a trolley stop is paired with a place name, it’s usually a good signal that you can build a small plan around it—like browsing, grabbing food, or doing a slow walk before you ride again.
In practice, this is a great choice for late afternoon, when you want things to be close together and you don’t want to second-guess your next step.
Possible drawback: central-adjacent stops can be crowded for boarding at peak times.
Stop 14: Corner of Angela/Duval St, Angela Street Depot
Depot stops are often the easiest place to re-center your route. If you’re doing a split day—trolley ride in the morning, longer walking later—this is a natural “return and regroup” point.
I’d also consider it if you want to end your day riding close to major streets and keep your navigation simple.
Possible drawback: if you treat the depot as your last hop-off and then wander too far, you can end up far from the pick-up point. Keep your walking radius realistic.
Guides, narration, and why the ride feels more like a story walk
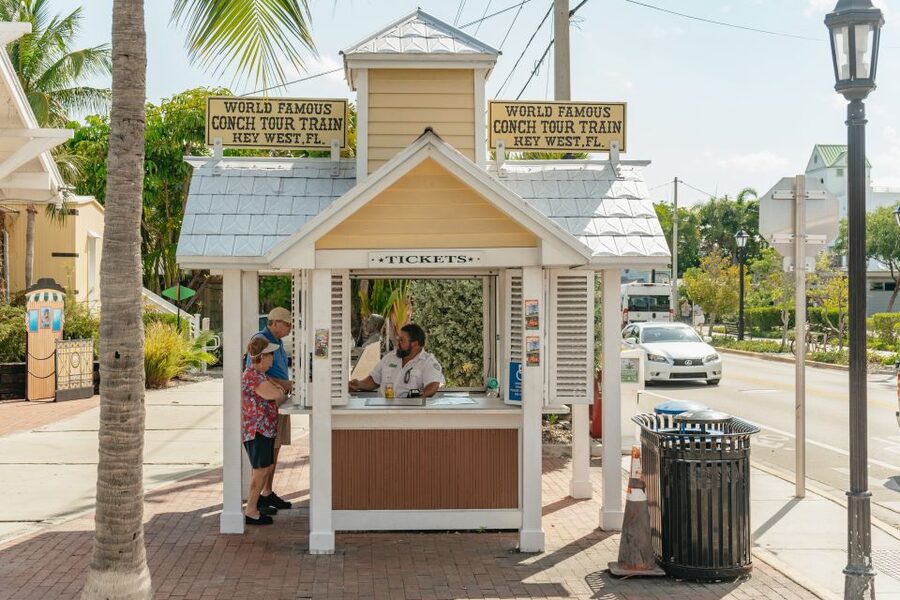
The best part of these hop-on tours is what happens while you’re stuck on the vehicle for the short transfers between areas: the narration. With a live guide in English, the trolley ride becomes an on-the-go orientation to Key West’s layout and the kinds of history you’ll hear echoed in the streets and buildings you see after you get off.
I like that the guides keep it personal. Names like Louie, Skipper, Pony, Cannon, Kenny, and Jay come up because the commentary has style—friendly, funny, and practical. Even if you don’t catch every detail, you’ll leave with a better sense of what you’re looking at when you step off.
One comfort plus: many rides are enjoyable even when the weather shifts. A light rain or short gray spell doesn’t have to wreck your day since you’re still moving and sheltered some of the time—just keep an eye on conditions and have a plan for indoor stops like the museum.
Price and value: does $55 actually make sense here?
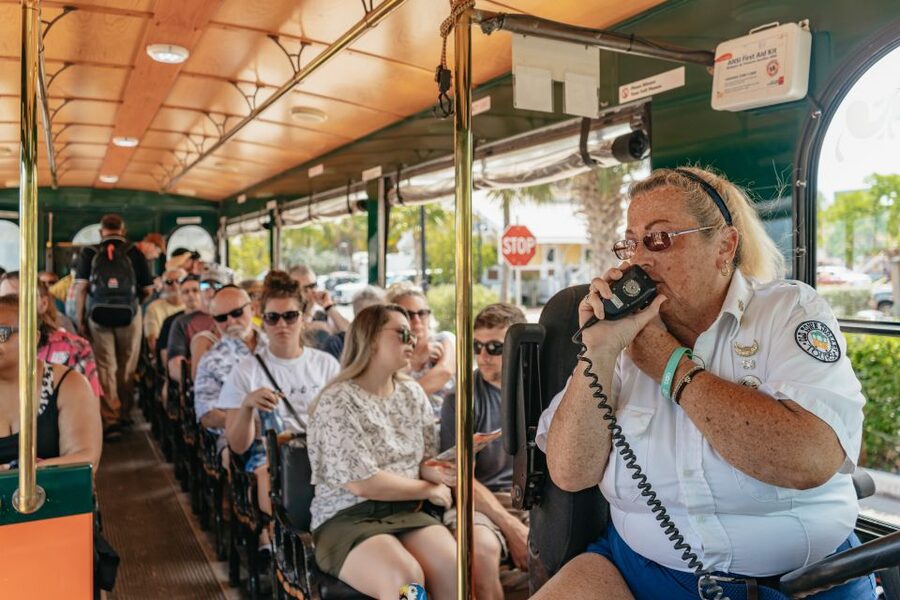
At $55 per person for one day, this trolley isn’t the cheapest thing in town. But in Key West, it often wins on value because it targets the biggest practical expense: time. Between parking problems and the cost of transport, you can burn hours fast if you’re driving.
What you get for that price is not just a single ride:
- an all-day pass (so you can return to multiple stops)
- access to 13 convenient stop areas across the island
- live English narration that makes the ride itself useful
- free admission to the Sails to Rails Museum near Stop 2
That museum inclusion is a real value driver. It turns the cost from transport-only into a day’s worth of sights, with one major attraction built in.
Also, seating being first come first served is something to factor in. If you’re going in peak heat and you hate waiting, start earlier in the day or be ready to board promptly. A tight seat isn’t a dealbreaker, but it can color your experience if you’re sensitive to cramped spaces.
Who should book this trolley and who might not
This tour fits you if:
- you’re visiting Key West for a day or cruise stop and want to reduce logistics stress
- you want to see more of the island than you can comfortably walk
- you like local storytelling and want context while you travel
You might choose something else if:
- you already know Key West extremely well and plan to spend the day in just one or two areas
- you want a fully guided walking experience with a longer stop at fewer sites
- you strongly prefer assigned seating and can’t tolerate first-come boarding
Should you book the Key West Old Town Trolley 13-stop hop-on hop-off tour?
If you want an easy, practical Key West day plan, I’d book it. It’s especially strong when you need orientation fast, when you’re balancing multiple “maybe” stops, or when you want the free Sails to Rails Museum add-on without spending extra money separately.
If you’re picky about comfort, board early and plan your seating expectations. If you’re budget-sensitive, do a quick self-check: will you actually use multiple stops and re-board? If yes, the all-day format usually feels fair. If no, you might be paying for flexibility you won’t use.
FAQ
Where do I start this trolley tour?
You can depart from any of the boarding locations, including the Key West cruise port area.
How long is the ticket valid?
The ticket is valid for 1 day, and it remains good until the end of the business day on the date of use.
How often do trolleys depart?
Tours depart from the boarding locations about every 30 minutes.
Is the Sails to Rails Museum included?
Yes. You get complimentary admission to the Sails to Rails Museum.
Where is the Sails to Rails Museum in relation to the trolley stops?
It is located near Stop 2.
Can I bring pets or large bags?
No. Pets are not allowed, and luggage or large bags are not allowed.
Are the guides provided in English?
Yes. The tour includes a live tour guide in English.
Where do I get the map and schedule for the stops?
You receive a map with all stops and a schedule at the ticket depot when you redeem your voucher. If you board at a location without a ticket booth, the conductor will provide it.
More Key West Tours

More Key West Tour Reviews
The Whole Island, the Easy Way

Fresh Off the Dock: The Newest Key West Reviews











Conch Train & Trolley Tours, compared.
 ★ 4.5Key West Hop-On Hop-Off Trolley TourFrom $551,530 reviews
 ★ 4.5Key West Ghosts and Gravestones Trolley TourFrom $391,217 reviews
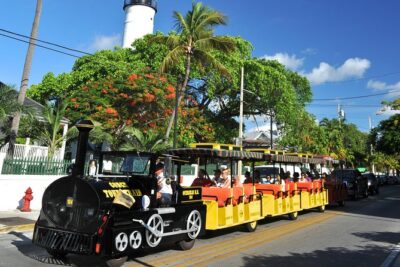 ★ 4.5Key West Conch Tour TrainFrom $45792 reviews
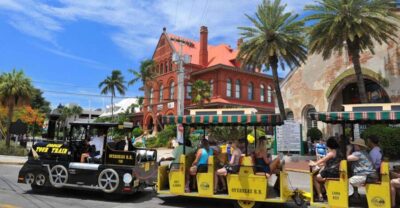 ★ 4.5Key West Conch Train TourFrom $45234 reviews
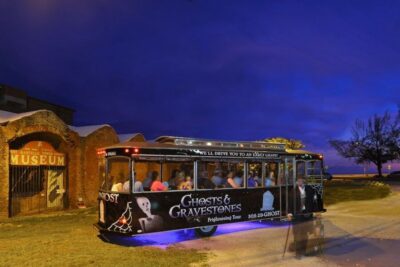 ★ 4.3Ghosts & Gravestones Guided Trolley TourFrom $39150 reviews
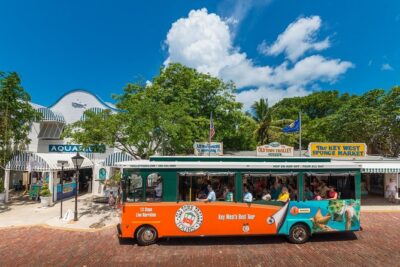 ★ 4.0Key West Shore Excursion: Hop-On Hop-Off Trolley TourFrom $5573 reviews
 ★ 5.0Key West Conch Republic Tiki Pedicab Experience by Kokomo CabsFrom $18068 reviews
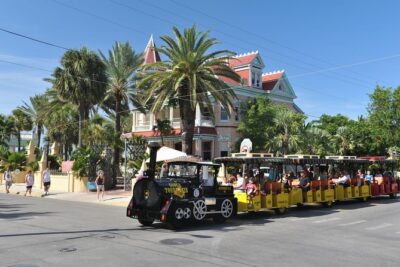 ★ 4.5Key West Shore Excursion: Conch Tour TrainFrom $4534 reviews
Browse the lists this tour appears in